Create a Saved Schedule in Workday
Overview
A saved schedule allows you to put classes in a shopping cart and register when your appointment time arrives. A saved schedule does not save the seat in the class for you. When you register, the class must have seats available and you must meet the requirements to join the class.
You can create multiple saved schedules. For example, you could create your preferred schedule and then a backup schedule. Note Workday will not allow you to place two classes that meet at the same time in the same saved schedule.
Add class to saved schedule
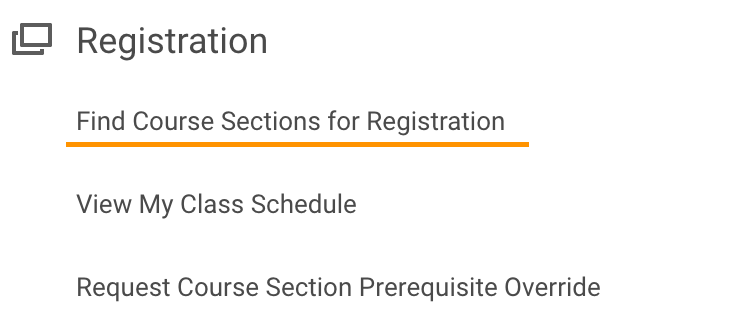
Click Menu then Academics.
Under Registration, choose Find Course Sections for Registration.
Select or type in the appropriate term.

Right Click on the title of a course you’d like to add to your schedule, and choose Open in New Tab.
On the next page, you’ll view details about the course. To continue, click Add to Saved Schedule.
.
Choose all and an existing schedule, or click Create Student Registration Saved Schedule.

If creating a schedule, name your schedule whatever you want, then click OK.
On the next page, choose your course section and click OK. On the following page, click Done.
If you opened the course in a new tab, close the tab and return to the course listings to choose another course for your schedule.
Register from saved schedule
Click Menu then Academics.
In the Planning and Advising section, choose View My Saved Schedule.

Next to the Saved Schedule that contains the classes you want to enroll in, click Register.

Confirm your class sections and click Register.
Click Start Registration.
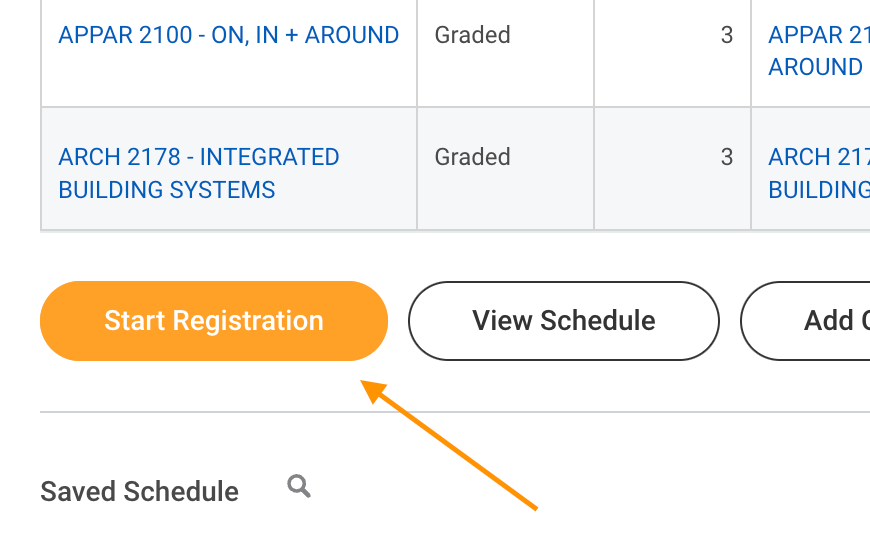
Ensure you were successfully registered! Classes you have joined will appear under Successful Registrations.
You may also want to view your entire schedule.
Click Menu then Academics.
Under Registration, choose View My Class Schedule.