Approving an Event Request on 25Live
APPROVING AN EVENT REQUEST
When someone requests a space of which you are the approver, you will get a task notification in 25Live.

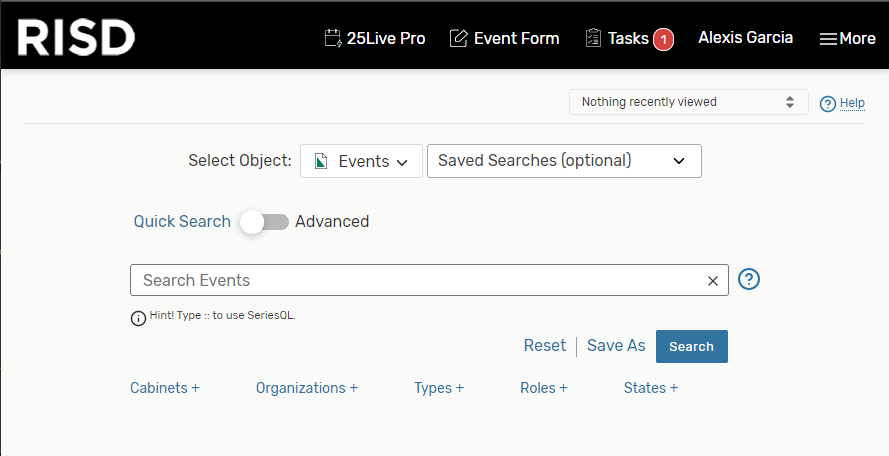
Click on the “Tasks” button at the top of your screen to see your tasks. (Circled above)
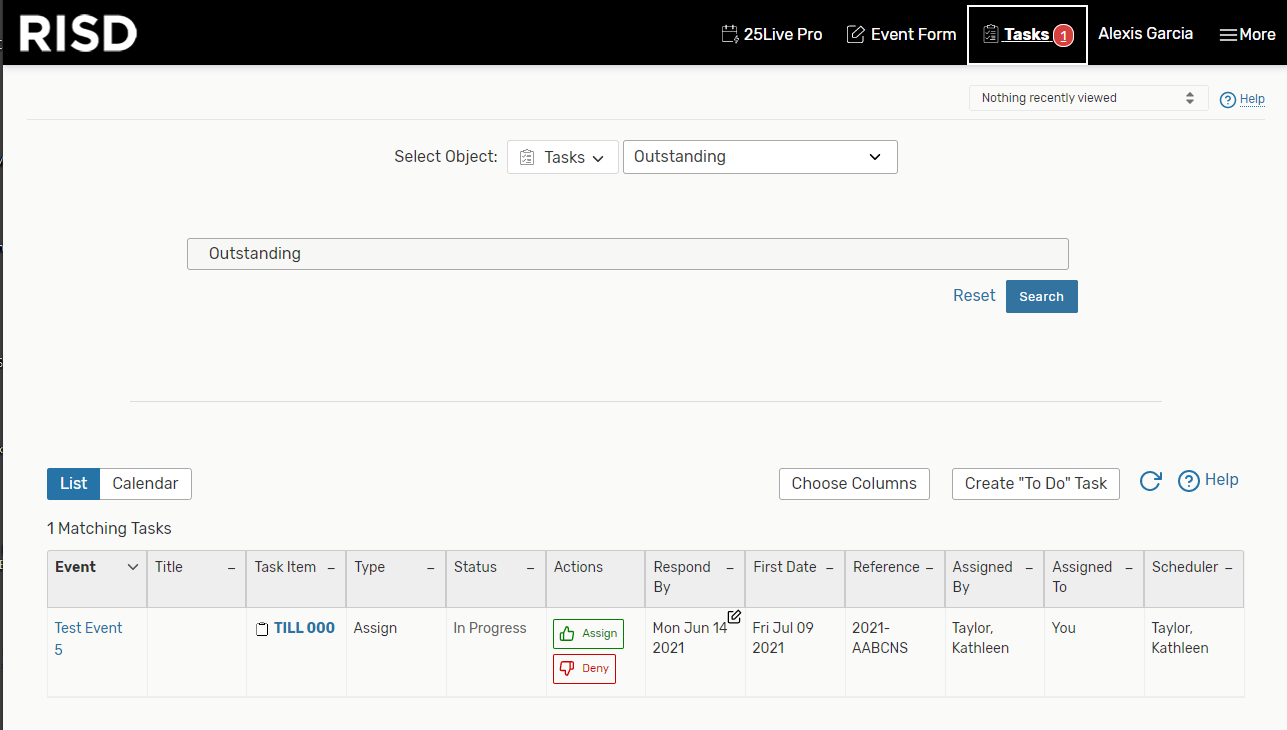
Clicking this will default to “Outstanding” which will show you all tasks that need to be completed.
To approve the space, you must complete two steps.
Assign/Deny the Space
Change the Event Status.
Please note: you cannot receive requests for events that overlap existing events.
ASSIGNING THE SPACE
Outstanding requests will show up in your “Outstanding Tasks” screen.
To assign the event space to the requested event. Click the “Assign” under the “Actions” column to assign the location to the requestor/scheduler for the requested time. If the requested time does not work for your department, click the red “Deny” button.

Once an event is successfully assigned, the status will change from “In Progress” to “Assigned” or “Denied”

CHANGING EVENT STATUS
Events will automatically come in as tentative. Once an event has been assigned a locations, it will need to be changed to “Confirmed”.
To change event status, click on the event name under the “Event” column.
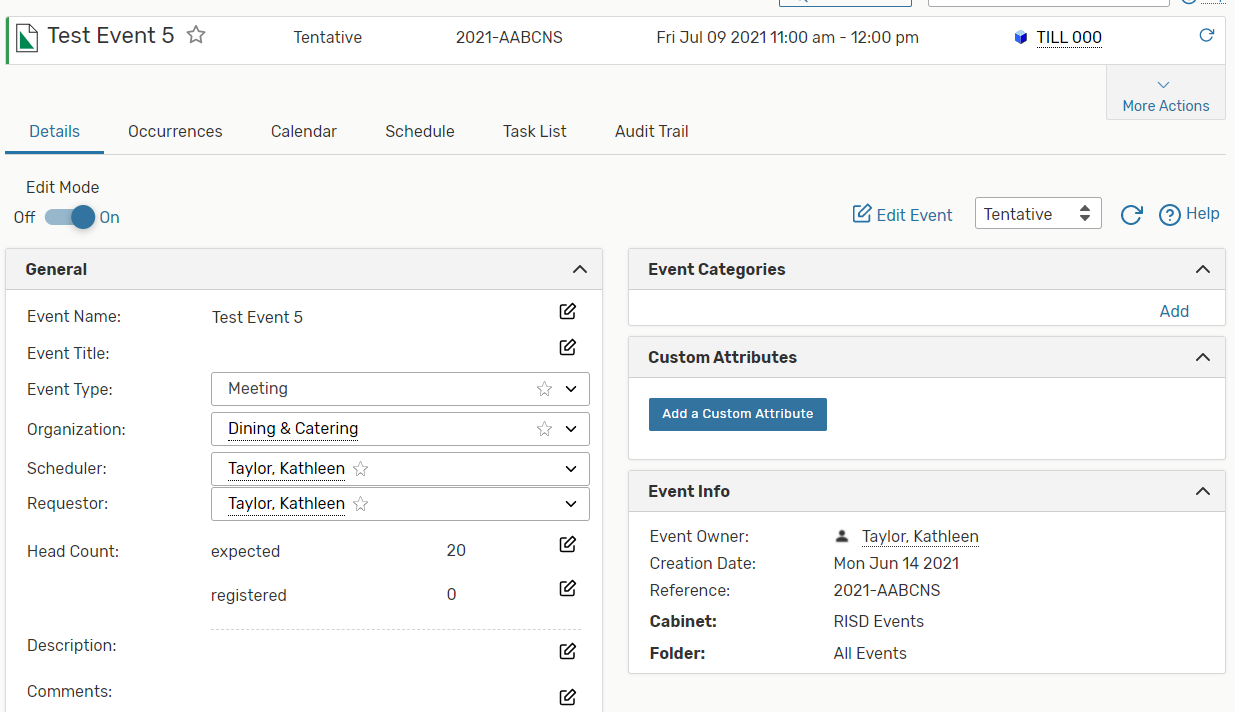
You will see this screen:

Click the drop-down arrows next to the word “Tentative” (circled above) and change the status to “Confirmed”
The event status will automatically save.

Changing the event status will alert the requester their event has been approved.
APPROVING DATE CHANGE REQUESTS
Users are able to cancel tor release space requests without approval.
If someone decided to change the time or date of their already assigned requested you will have to approve the space again. The same steps will be followed, but you should not need to change the event state again.