Create an Expense Report for Non-worker in Workday
Create an Expense Report for Non-Worker
Expense reports are reimbursement requests used to reimburse a non-worker for out-of-pocket expenses and/or reconcile a non-worker’s charges for business-related costs, such as airfare, business meals or hotel expenses.
-
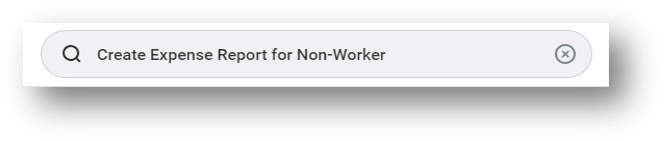
Type Create Expense Report for Non-Worker into the Workday search bar and click on the task in the search results.
-
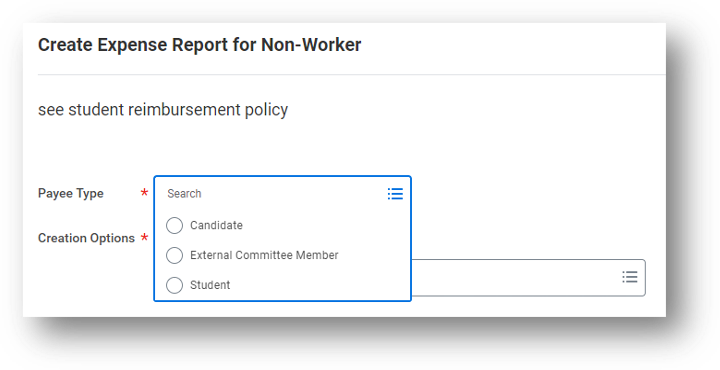
Select Student as the Payee Type then type the name and select it from the search results.
-
Select either Create New Expense Report or Copy Previous Expense Report. Your selection determines what information displays on the new expense report


-
The information you enter in the memo field, will appear as the title of the expense report for non-worker.
Note: Please select a Business Purpose and Rhode Island School of Design as the Company from the drop-down menu during the step. If you do not, an error message stating Business Purpose / Company Required will be displayed on the next page. To fix this error, you will need to navigate to the Header tab and edit your entry
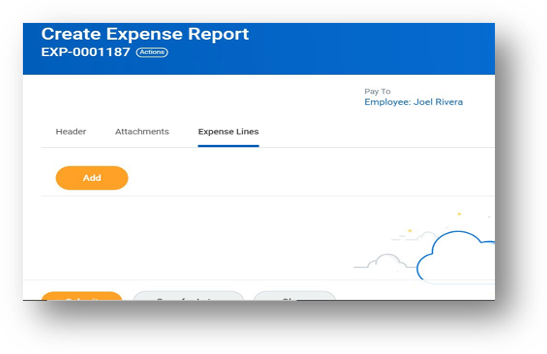
- Click OK. The system will bring you to Expense Lines section. Select Add to enter the expense line details.
ADD EXPENSE LINES
From the Expense Lines tab within an expense report:
-
Click the Add button under Expense Lines. Depending on the types of transactions available for processing, you may be asked to select Credit Card Transactions (transactions from your T&E card), Quick Expense (available images and/or entries from the mobile app), or New Expense. (Note that you are able to link an existing Quick Expense entry to a New Expense line.)
-
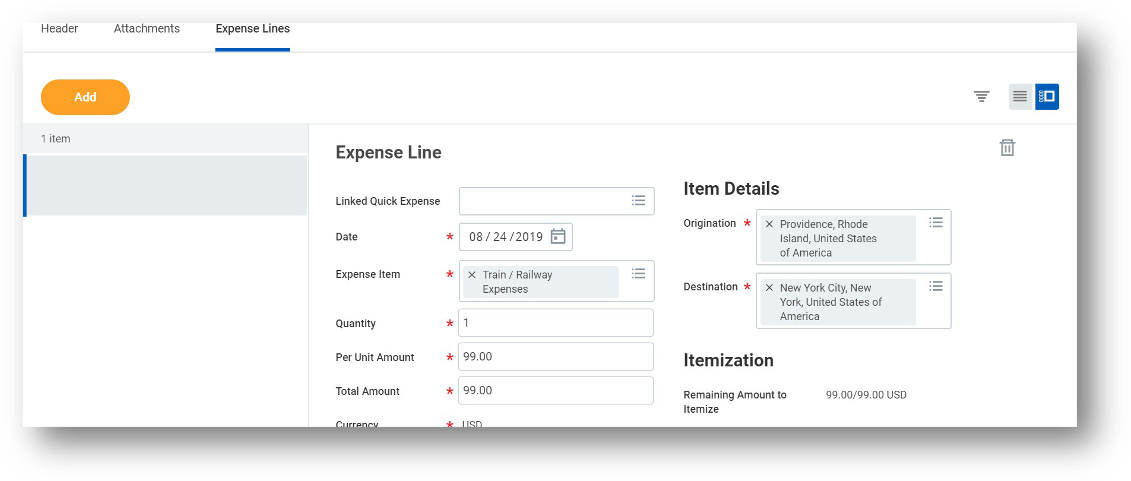
Complete all required fields, including Date, Expense Item, Quantity, Per Unit Amount, Total Amount, Financial Information (Cost Center, Function, Fund, etc.) and Business Topics as applicable.
Note: See the Worktags section if your organization requires a program, grant, gift, or project and/or RISD activity code to be associated with your expense report.
-
Item Details fields display based on expense item. For example, you will need to enter the names of the attendees for a business meal. Enter the necessary information in the Item Details.
-
Meals: Enter the names of the attendees for the meal. Click the Prompt to select the names of RISD employees, previous guests, or Create a Guest
-
Airfare: Enter the name of the airline, and the name of the city or the airport code of the destination and origination cities. If a city is not listed, enter the name of the closest location.
-
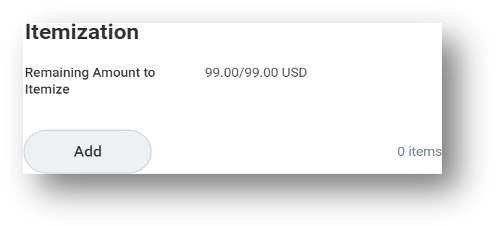
Itemization: You can split the accounts and/or expense categories associated with an expense line entry by clicking on the Add button under the Itemization header. This is only necessary when splitting charges between different accounting strings (cost centers for example).
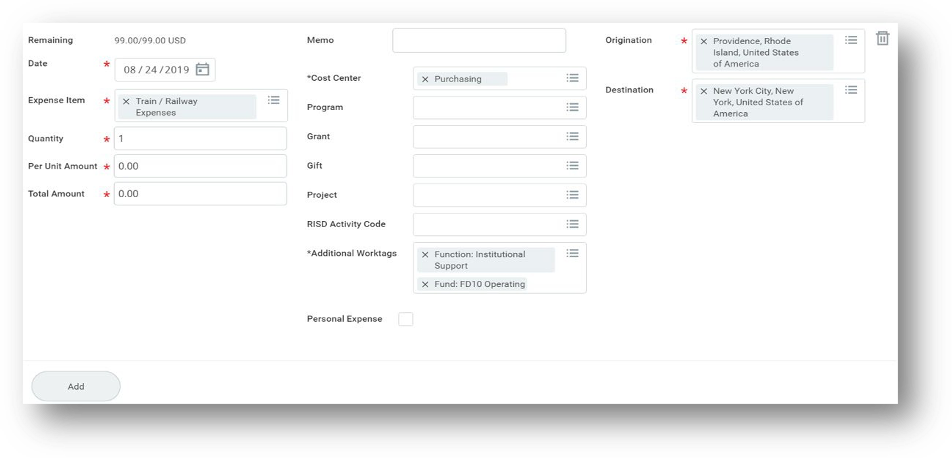
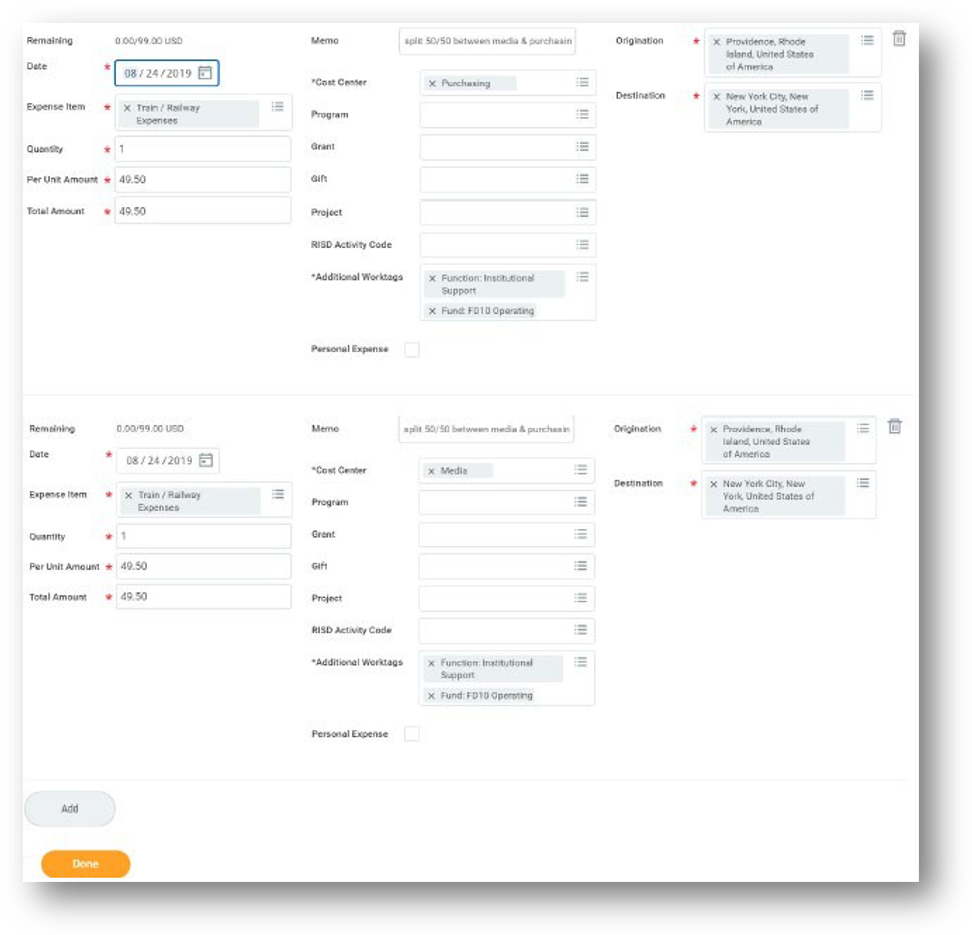
- Once the Add button is selected, a new screen will appear. The screen will show the expense line with the values already entered on Item Details. Note the Remaining field on the top left side of the screen. This field will subtract the invoice distributions from the Expense Line item total and will display the funds available for allocation. The sum of your itemized expenses must equal the total of your Expense Report Line.
- Once all Expense Line distributions have been allocated, click on the Done button to go back to your expense report
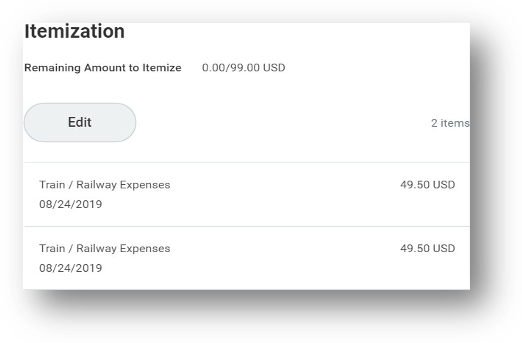
- A summary of the distribution information entered will now show under Itemization.
- Add any needed attachments.
- Click Submit.
- Click Done.
ADD WORKTAGS
Worktags are keywords needed for the expense report to be routed correctly. They are used for reporting purposes. Based on your expense, you may need to add additional worktags.
-
Cost Center: Workday will auto-populate this field; it should only be modified as needed.
-
Grants, Projects, Programs, RISD Activity Codes: add the worktag to associate the expense as needed
Note: The number of worktags you can choose for your expense report can vary. An inactive (closed) grant, project, program or activity code will not appear in the list of available worktags.
VIEW AN EXISTING EXPENSE REPORT
From the Expenses application:
-
Click the Expense Reports button under View. You have the option of filtering expense reports by status or date.
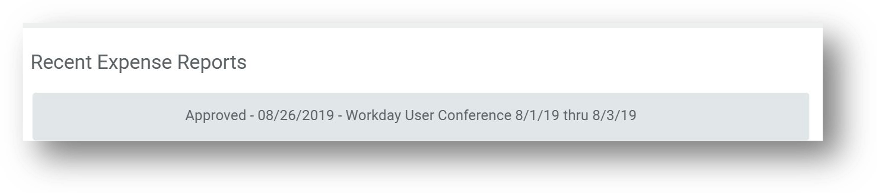
- You could also click the date of the expense report you want to view in the Recent section. The current status of the expense report will appear next to the title of the expense report.
EDIT AN EXISTING EXPENSE REPORT
From the Expenses application:
-
Click on the Edit Expense Report button. It will be the first option under the Action column.
-
From the Edit Expense Report page, use the drop down to select the report you want to edit.
-
Click Ok. The expense report selected will display.
-
To edit the report, selection the Action button and edit.
- Select Submit after your changes are completed.
What does that mean?
Below is an explanation of the fields displayed on the top right side of the report:
- Pay To: This fields displayed the name of the person being reimbursed/Owner of the T&E card being processed.
- Status: Shows the status of the transaction
- Personal: This field shows amounts that were flagged as personal by selecting the Personal checkbox on the Expense Line; this makes the expense reportable as a Personal expense
- Company Paid: This is the amount paid directly by RISD towards the credit card balance
- Cash Advance Applied: Shows any cash advances applied/deducted from a reimbursement
- Reimbursement: This is the amount due to the payee.